Sunday 8 February 2015

Valentine's Day: Tanning, Make-Up & Hair Styling

Welcome back!

Valentine's Day is fast approaching and is always a time us ladies like to look our best. This post will show you how to nail the perfect tan, a fresh faced make-up look and how to style your hair.


Let's get started…


THE NIGHT BEFORE: 13/2.

Tanning with Naked Tan 

1. Start by scrubbing off dead skin cells and possibly leftover tan with Goddess Body Exfoliator. Hop in the shower and apply a small amount to appropriate areas. Massage into the skin to leave it feeling refreshed and rejuvenated.


2. Get out of the shower and dry off. Apply Goddess Creme de la Creme to knees, elbows and ankles to assure the tan doesn't cling to your dryer areas.


3. Apply Goddess Bronzing Mousse all over the body. Be sure to use a tanning mitt and work in circular motions. This will help the tan to look more even and natural. 


4. Put your hairdryer on cold and dry your whole body. Wait 10 minutes before clothing. After a minimum of 2 hours your tan is ready to go. The longer you leave the tan, the more it develops and the darker it will be.

5. Wash off with Goddess Body Cleanser. This product is amazing as it is SLS free and doesn't strip off your tan like other body washes.


Now your tan is ready to go!


VALENTINE'S DAY: 14/2.

Tan Touch-Up, Make-Up & Hair Styling


TAN TOUCH-UP.
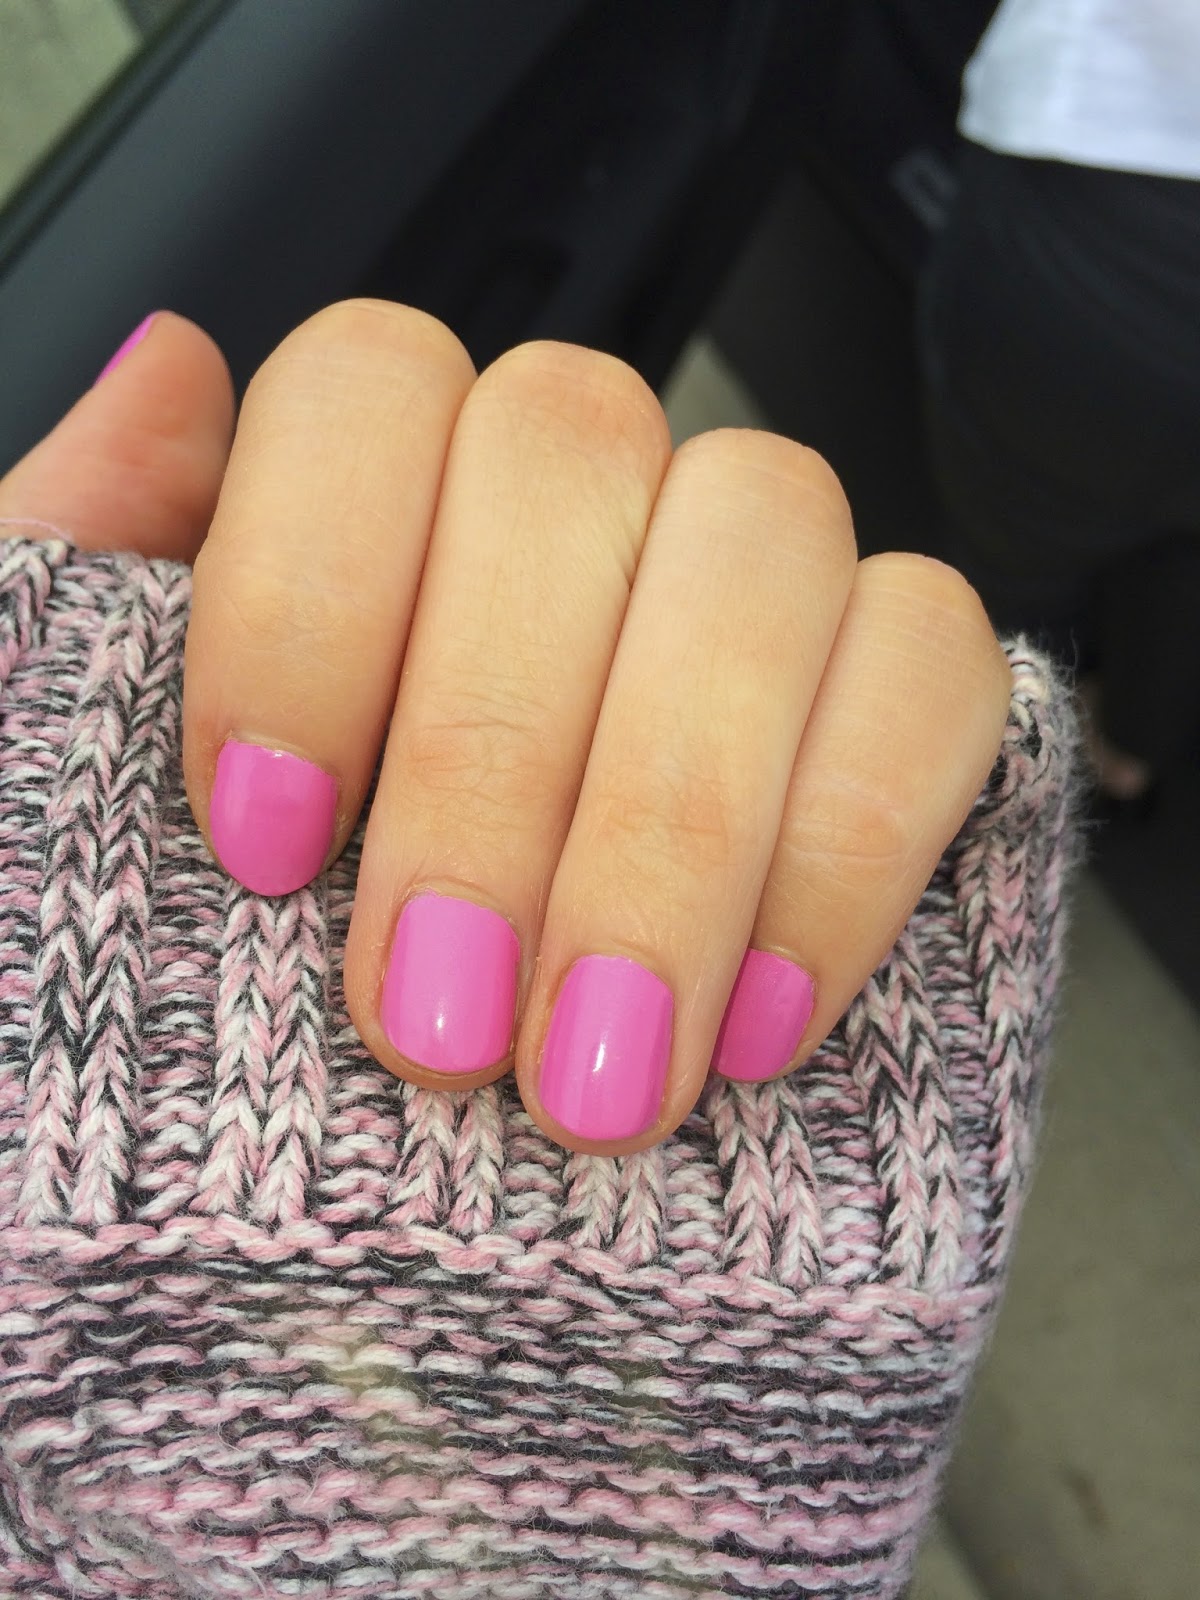
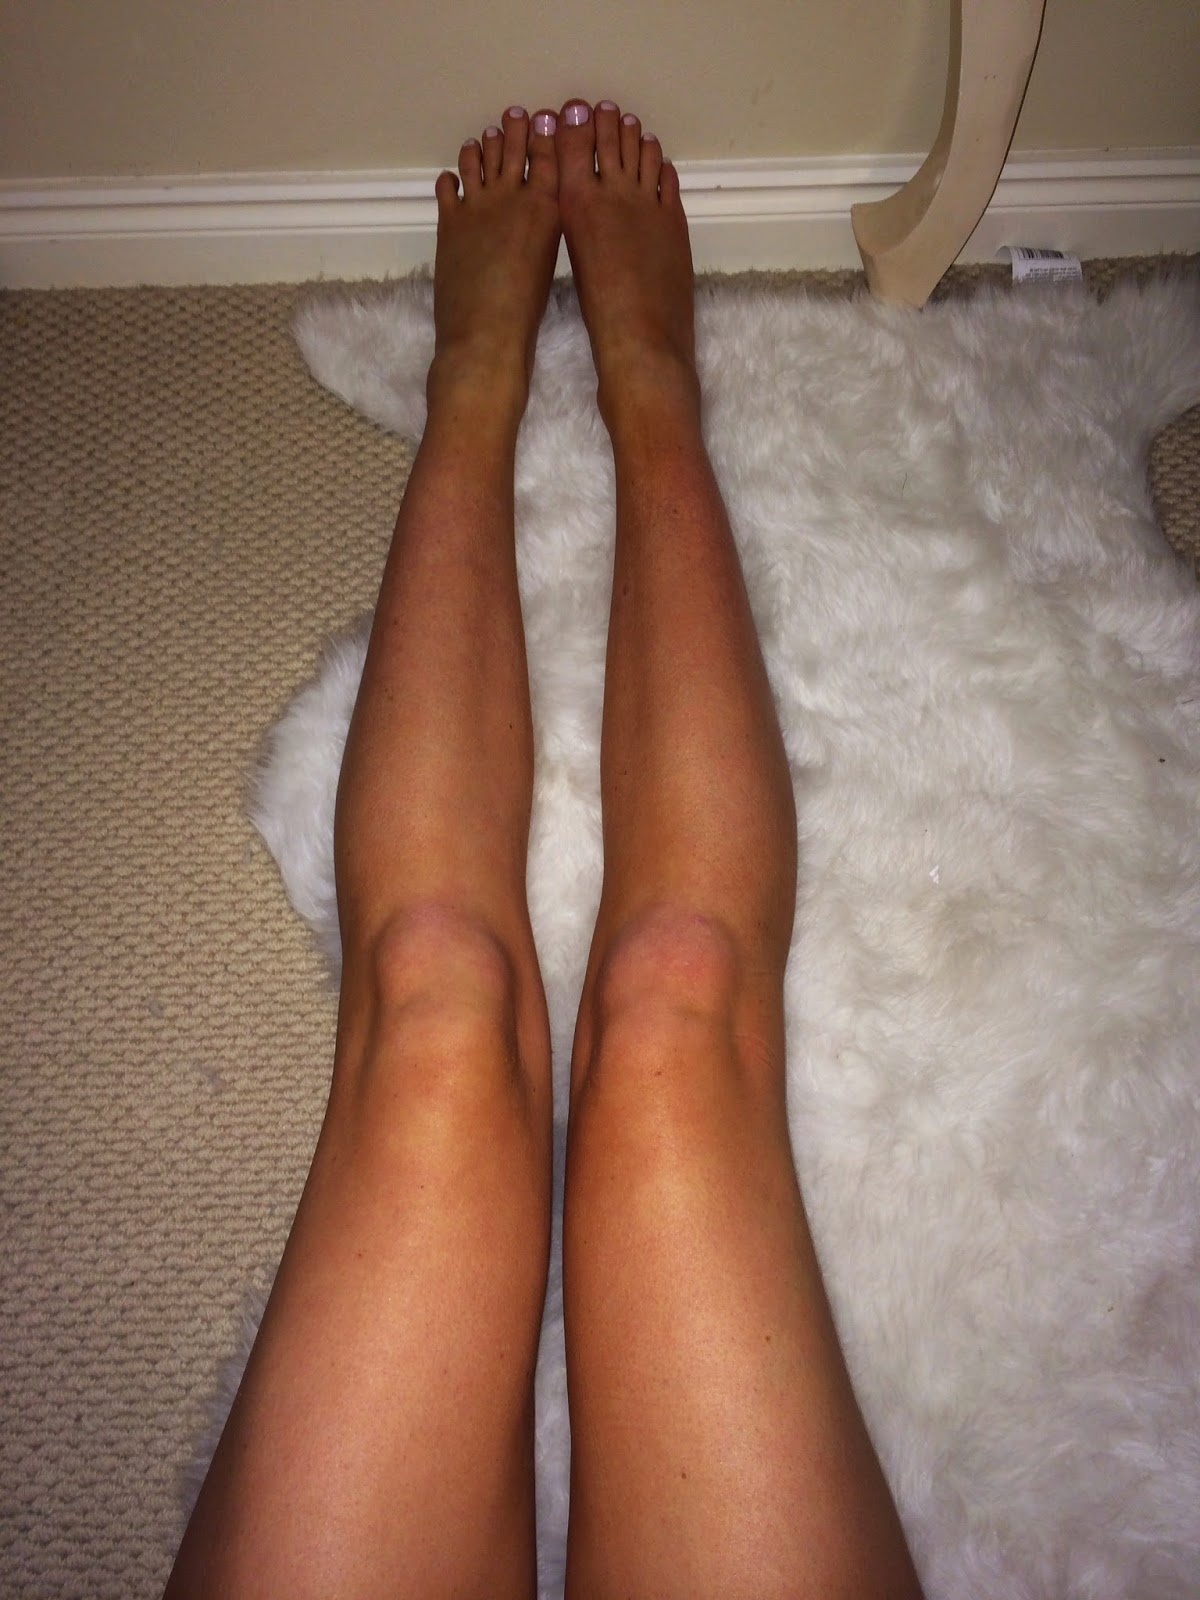
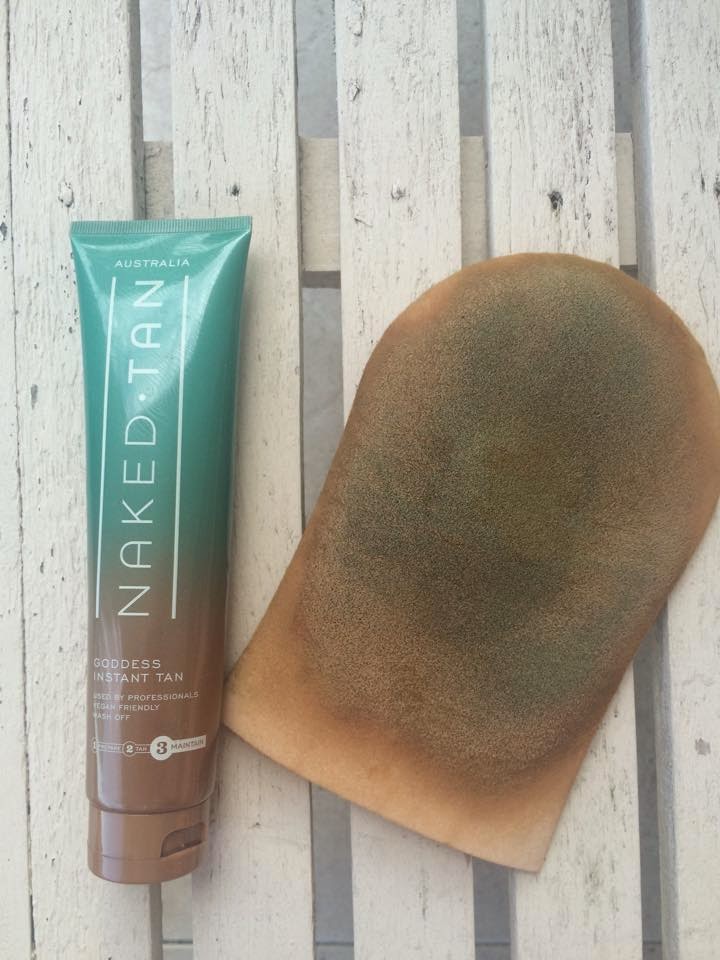
1. Apply Goddess Instant Tan to arms and legs to give an over all glow and colour.
2. Buff in with tanning mitt. This product is also made to moisturise the skin, assuring your mousse tan will last longer!


MAKE-UP.
Considering this is a Valentine's Day tutorial, I think it is nice to keep it very fresh, dewy and natural. I believe Valentine's Day suits a very feminine, youthful make-up look and that is what I have created. This look uses very earthy tones and universal colours, assuring it can suit anyone!
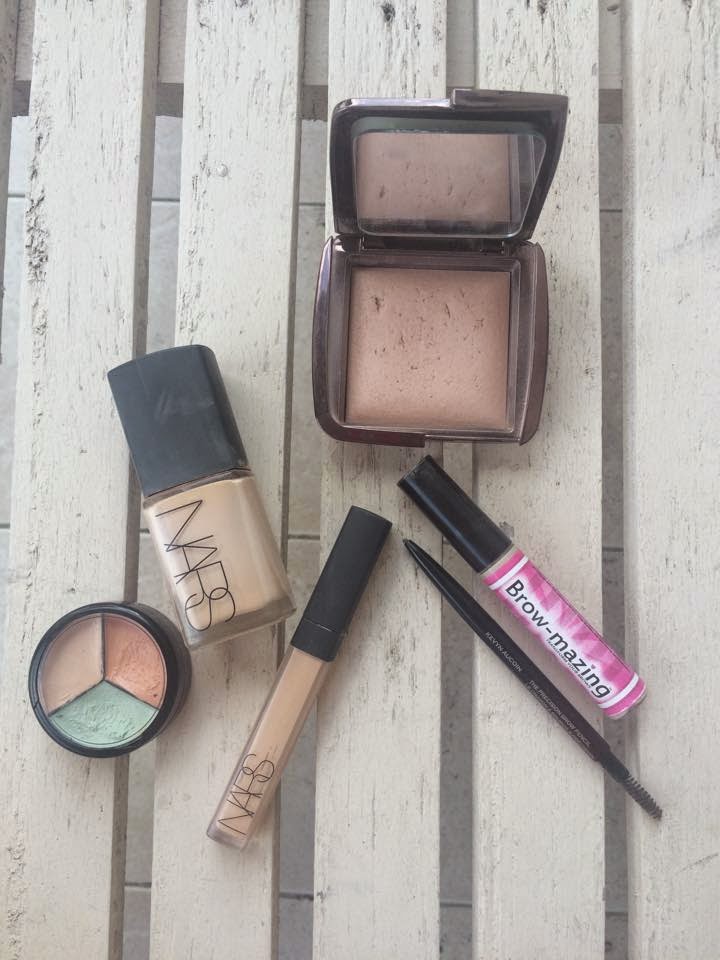
1. Complexion… 
- Firstly, cover any redness with green colour correcting concealer from the 'Corrector Trio' by Be Coyote.
- Then, cover any darkness (particularly around the eye area) with orange colour correcting concealer from the 'Corrector Trio' by Be Coyote.
- Thirdly, buff Nars Sheer Glow foundation into the skin with a buffing brush. I use colour 'Fiji', light 5. 
- Use Nars Radiant Concealer to cover any blemishes and illuminate under the eyes. I would recommend placing the concealer in a triangle shape to slightly contour the face. This is discussed in a previous blog post. I use colour 'Custard', medium 1. 
- Dust Hourglass Ambient Lighting Powder in 'Dim Light' all over the face with a large powder brush. This powder will assure you're make up doesn't slide off but is also illuminating, adding to that glow. 
- Complete your complexion by filling in your brows. I used the Kevyn Aucoyn Brow Pencil in 'Brunette' to draw fine individuals hairs and buffed them out with the end of the pencil. I also ran Get Threaded's 'Brow-Mazing' gel through to keep them in place. 


2. Contouring…
- Using a contouring brush concentrate your bronzer beneath your cheekbones. The right spot can be found by pouting, if it doesn't appear obvious on its own. Your bronzer should always sit beneath your blush. Pictured below are two brush options I find best. I use Nars 'Laguna' bronzer.
- Using your finger tips, work Nars Multiple in 'Orgasm' into your cheeks. It is a very natural, dewy flush. Adding to that fresh look. 
- Thirdly, using your finger tips, dab Nars Multiple in 'Copacabana' at the top of your cheek bones and in a C shape around your brows. In the photo below you can see where the light hits the illuminator.


3. Eyes…
- As a base apply By Terry Ombre Blackstar in 'Frozen Quartz' to eyelid. Blend using your finger tips.
- Work Stila 'Bubbly' from the 'In A Good Light' palette into the base and crease.
- Shade the outer corner of your eyes with 'Sandstone' and using your pinky finger dab 'Kitten' into the inner corners of your eyes.
- Beneath your brows, tidy up with 'Bare'.
- Press the Stila Stay All Day liner in 'Intense Black' along your lash line. Keep the line as thin as possible. This will assure your lash line looks thicker, however still maintaing that natural look. 
- Finally curl lashes with Kevyn Aucoyn lash curler and apply multiple generous coats of Revlon's 'Grow Luscious' mascara. This mascara is amazing as it separates each lash individual, whilst still giving them volume and fullness.


4. Lips…
- Outline lips using Nars 'Mysterious Red'. This lip pencil is part of the Velvet Matte range, meaning that it goes on rather creamy then sets to become a matte. A matte is a smart choice for Valentine's Day as it is less likely to shift or transfer, assuring you have flawless lips all night. It also only seemed fitting to use a red on the lips as it is the colour of love.
- Apply a coat of Too Faced 'Extreme Lip Injection' on top to add fullness and sheen. This lipgloss is made to plump the lips and gives them a slight tingle.


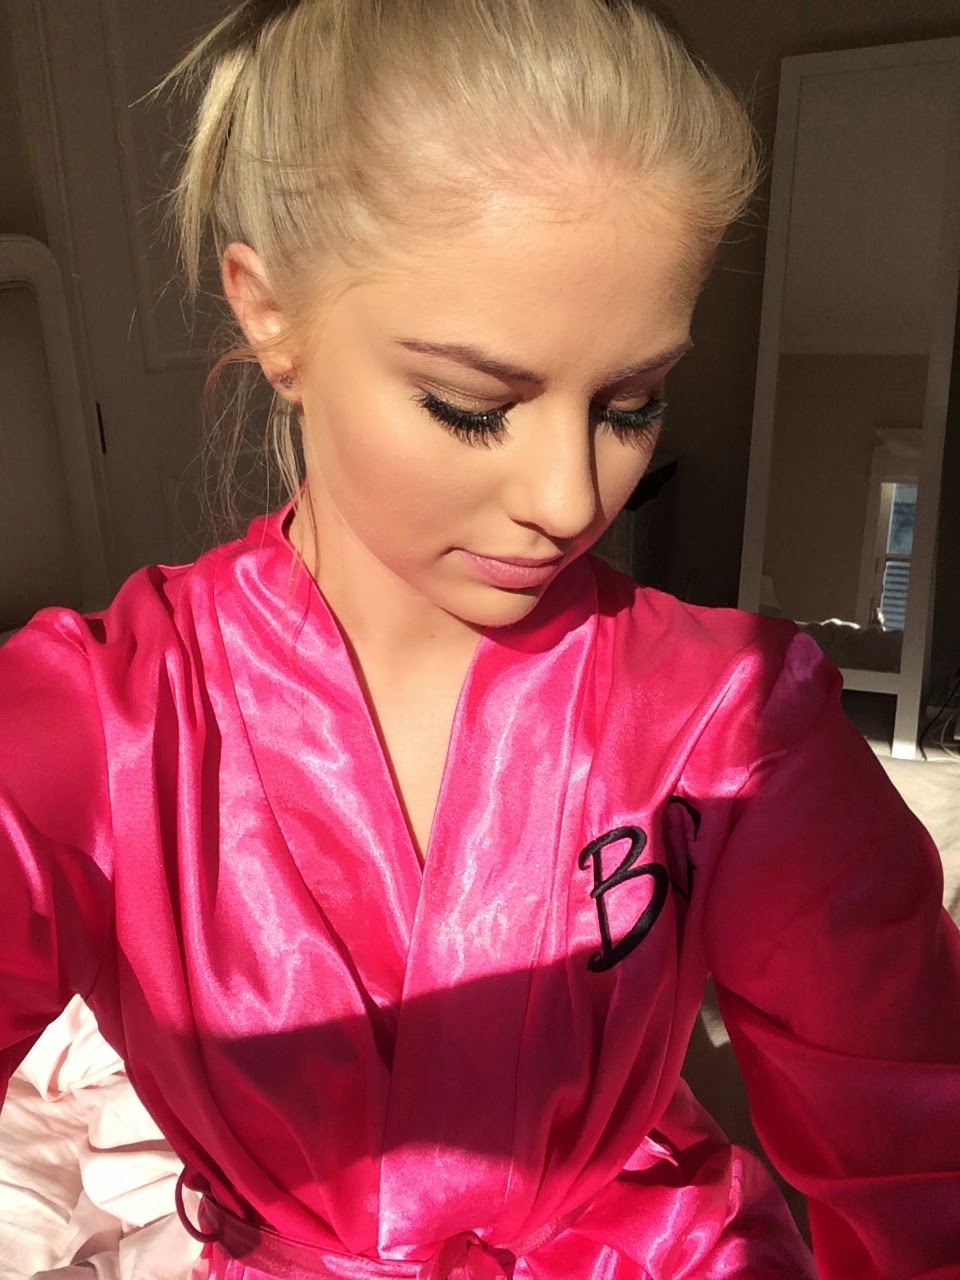
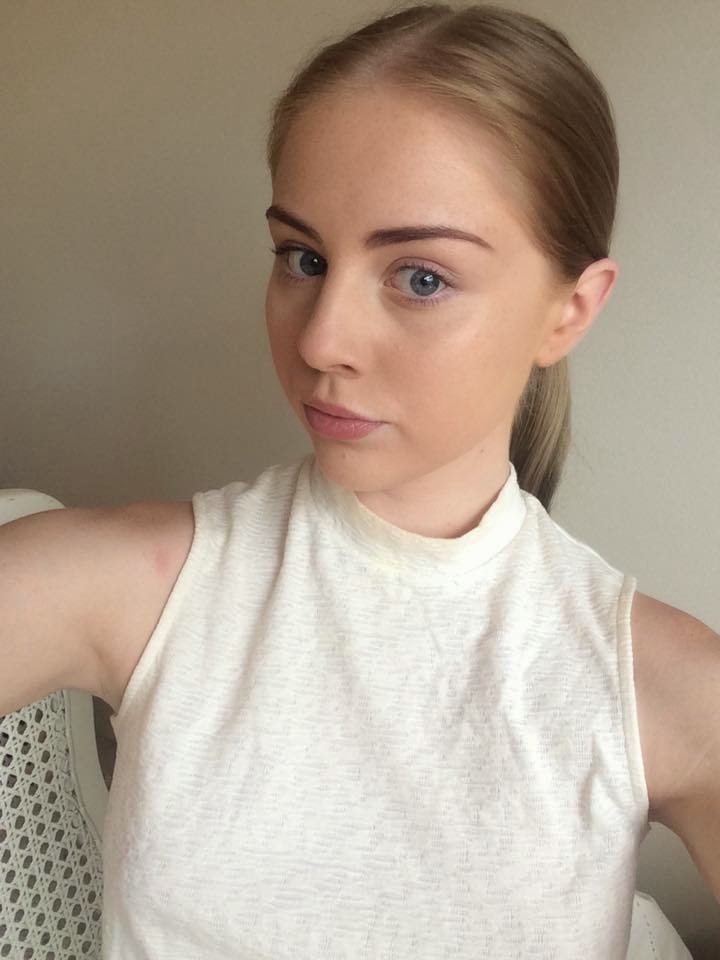
And there you have it… A flawless, natural Valentine's Day make-up look!


HAIR STYLING.
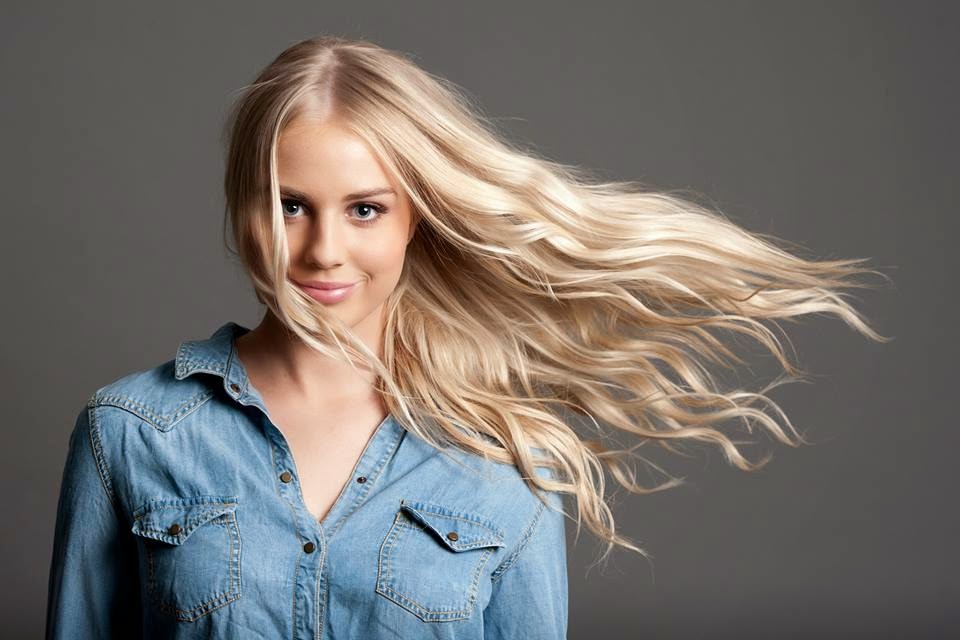
It is important to embrace your looks and personality on Valentine's Day so keeping the hair bouncy and fun is always a good idea. I decided to curl my hair and allowed the curls to drop naturally and frame my face. 

1. Heat curling stick to 180 degrees, the prime temperature for styling hair.
2. Wrap small sections of the hair around the stick, away from the face.
3. Hold each section from approximately 10 seconds before releasing. 
4. Spray hair with a low-hold hairspray and comb out with fingers.


Here is the final look…


Thank you all for reading and I hope to see photos of this look on Valentine's Day. If you have any questions feel free to contact me on one of my social media pages. Enjoy the festival of love!

Xx Kassi


Wednesday 10 September 2014

More beauty secrets revealed...

Welcome back!

I found that my first blog post (my top 3 beauty secrets) was very successful so I wanted to share with you all some more of my tips and tricks. 


SETTING FRESH NAIL POLISH.

We all have different methods we use to set our nail polish. I've tried everything from holding my hands in front of the fan to quick dry top coats... I recently tried something I was surprised did the trick; I let my nails quickly dry off for a few minutes and then placed them in a glass of iced water. This set them in place immediately and gave them a shellac-like feel. I would recommend holding them in the water for about 30 seconds and towel drying them off gently.


LOCKING IN A FAKE TAN.
I have two life saving tips for two different types of tans...

1. Whenever I apply my Naked Tan 2 hour tanning mousse I immediately use a hair dryer on my whole body to make sure the tan has completely set. I then wait 10 minutes before clothing.

2. When using my instant tanning wash-off products I always leave them to set for 5 minutes before dressing and spray them with a coat of hair spray to make sure they do not transfer onto clothing. 


NEUTRALISING REDNESS.
Everyday, for the past two years I have been using a combination of skin care products and make up products to help counteract the natural redness I have in my skin. I have found the most effective product in calming down my skin has been a green based primer (green counteracts red). I put this on underneath my foundation. This also ensures my foundation lasts longer, so I have to touch up less frequently.


FROM MATTE TO DEWY.
Nowadays, we are seeing less matte foundations and more dewy finishes. A dewy finish is a lot more glossy and natural looking. It is when your skin has a tasteful shininess to it. Instead of throwing out your matte foundations, add a drop of your regular facial oil into your foundation to change its consistency. This will make your skin look satin matte and your foundation blend a lot more easily. 


I hope you these extra tips have helped you in some way or another! Please let me know if you have any questions by getting in touch with me on one of my social media pages.

Xx Kassi


Sunday 24 August 2014

Yummy, healthy, simple smoothie!

Welcome back!

This week I thought I would teach you all a super easy to make and delicious to drink smoothie recipe. I often start my day with one of these and it keeps you full of energy until lunch time. It is also great as a snack.


Ingredients:

5x pitted dates
5x almonds
1x banana 
1x teaspoon of vanilla extract
1x cup skim milk
1x handful of ice


Method:

1. Place dates and almonds into a food processor or blender. Blend until chopped into small pieces.

2. Add banana (broken up into smaller pieces), vanilla extract and skim milk. Blend until smooth and creamy.

3. Add ice cubes and blend on higher setting until desired consistency is reached.


There you have it, a filling, healthy, low fat and tasty breakfast smoothie. I hope you enjoy it and I would love to hear feedback if you make different variations of it. 

Xx Kassi

Sunday 17 August 2014

My skin care routine.

Welcome back!

This weeks post is all about skin. I will remind you all that I work in skin care and know a lot about different ingredients and products. If you have any questions about what would be best for your skin type, feel free to leave a comment or contact me on one of my social media pages.


I'll start off by explaining what elements make up my routine...

SERUM.
Serum penetrates your skin and reaches the deepest layers of your epidermis. It has the greatest power to cure dehydration and help with anti-ageing. Serums are usually one of the most expensive skin care items as a lot of technology and research goes into them.

MOISTURISER.

Moisturiser hydrates the top layer of your epidermis and leaves your skin feeling silky and soft. It is meant to add value to your serum and assist it in doing its job.

EYE SERUM & CREAM.

Your eye serum and cream work in a very similar way to your facial serum and cream. They are meant to support one another and help target the concerns of your eye area. The eye area is the first area to age, which is why it is so important to preserve its youthful appearance and treat it separately to the rest of the face.

EXFOLIANT.

Exfoliation is designed to clean inside the pores to help clear build ups in the skin and prevent break outs. A more oily skin type should exfoliate two-three times a week. A more dry skin type should exfoliate once a week. 

MASK.

A mask is meant to be a special treatment done to the skin once a week. A mask should be selected based on your skin's needs. When your skin is more oily you should use a detoxifying mask. When your skin is more dry you should you a hydrating mask. If applying a hydrating mask I would recommend sleeping with it overnight. When your skin is looking dull and needs a lift I would recommend using a brightening mask. 


Now, for my daily and weekly routine...

EVERYDAY
AM: Eye cream, serum, moisturiser.
PM: Eye serum, eye cream, serum, moisturiser.

ONCE A WEEK
AM: Eye cream, serum, moisturiser.
PM: Exfoliant, mask.


I hope this was helpful and gave some insight into what is best for your skin. This is a very basic overview and I am hoping to post a more detailed video including the products I use soon. 

Xx Kassi


Sunday 10 August 2014

My top 3 beauty secrets!


Welcome!

I will start by saying that I have been using various beauty products since I can remember, so it only seemed fitting that I started working in make up, skin care and hair as soon as I finished school. I do study business as well but beauty is something I will always be passionate about. I thought I would share my top 3 beauty secrets with you all...


1. PRE FAKE TAN RITUALS.
For those of you who watched Beauty & The Geek you will know how naturally fair I am, I did not fake tan whilst on the show and embraced my natural skin colour. However, in my normal life I fake tan using Naked Tan 2 hour mousse or by getting a Naked Tan spray tan at least once a week. Before I apply these tanning products I always have a warm bath with a cup of olive oil in it (yes, the type you would find in the kitchen). Oil, obviously, doesn't mix too well with water so just stir the bath around and let it soak into your skin. Do this the night or day before you apply your tan as it will be absorbed by your dry patches and make your tan look much more even and allow it to glide on smoothly.


2. DENTAL CARE.
Teeth are so important! I brush my teeth morning and night. I brush them once using an electric tooth brush and whitening tooth paste for 2 minutes. I then brush my tongue separately using a gel tooth paste. Brushing your teeth and your tongue separately assure you fresh breath and maintain a high level of dental hygiene. After, I rinse my mouth with Listerine. I also use a teeth whitening mouthguard from the supermarket, similar to the ones you would buy from the dentist. It is called 'White Glow - express whitening gel'. I would recommend using it 3 nights a week. It is very affordable and the results are amazing!

3. FLAWLESS CONCEALER. 
Concealer seems pretty straight forward but is something people get very wrong. Many people just place concealer in a semi circle under their eyes. This can make you look like a 'reverse racoon' with 2 white circles under your eyes. Instead, blend your concealer into a triangle shape starting from the corner of your inner eye and finishing with the corner of your outer eye. This is a much more flattering look. Also take a thin swipe of your concealer down the centre of your nose to make it look thinner and more defined.

I hope these tips helped in some way and if you have any requests of what you would like to see on here let me know via my social media pages. I plan on making video tutorials very soon, so will keep you all updated.

Xx Kassi